Guides
Part of Synthetic media verification: a working guide for reporters
How to verify suspected AI images, video, and audio
A verifier's order of work for suspected AI media is to preserve the original file, confirm the person, check the event, then test the artifacts.
What to take away
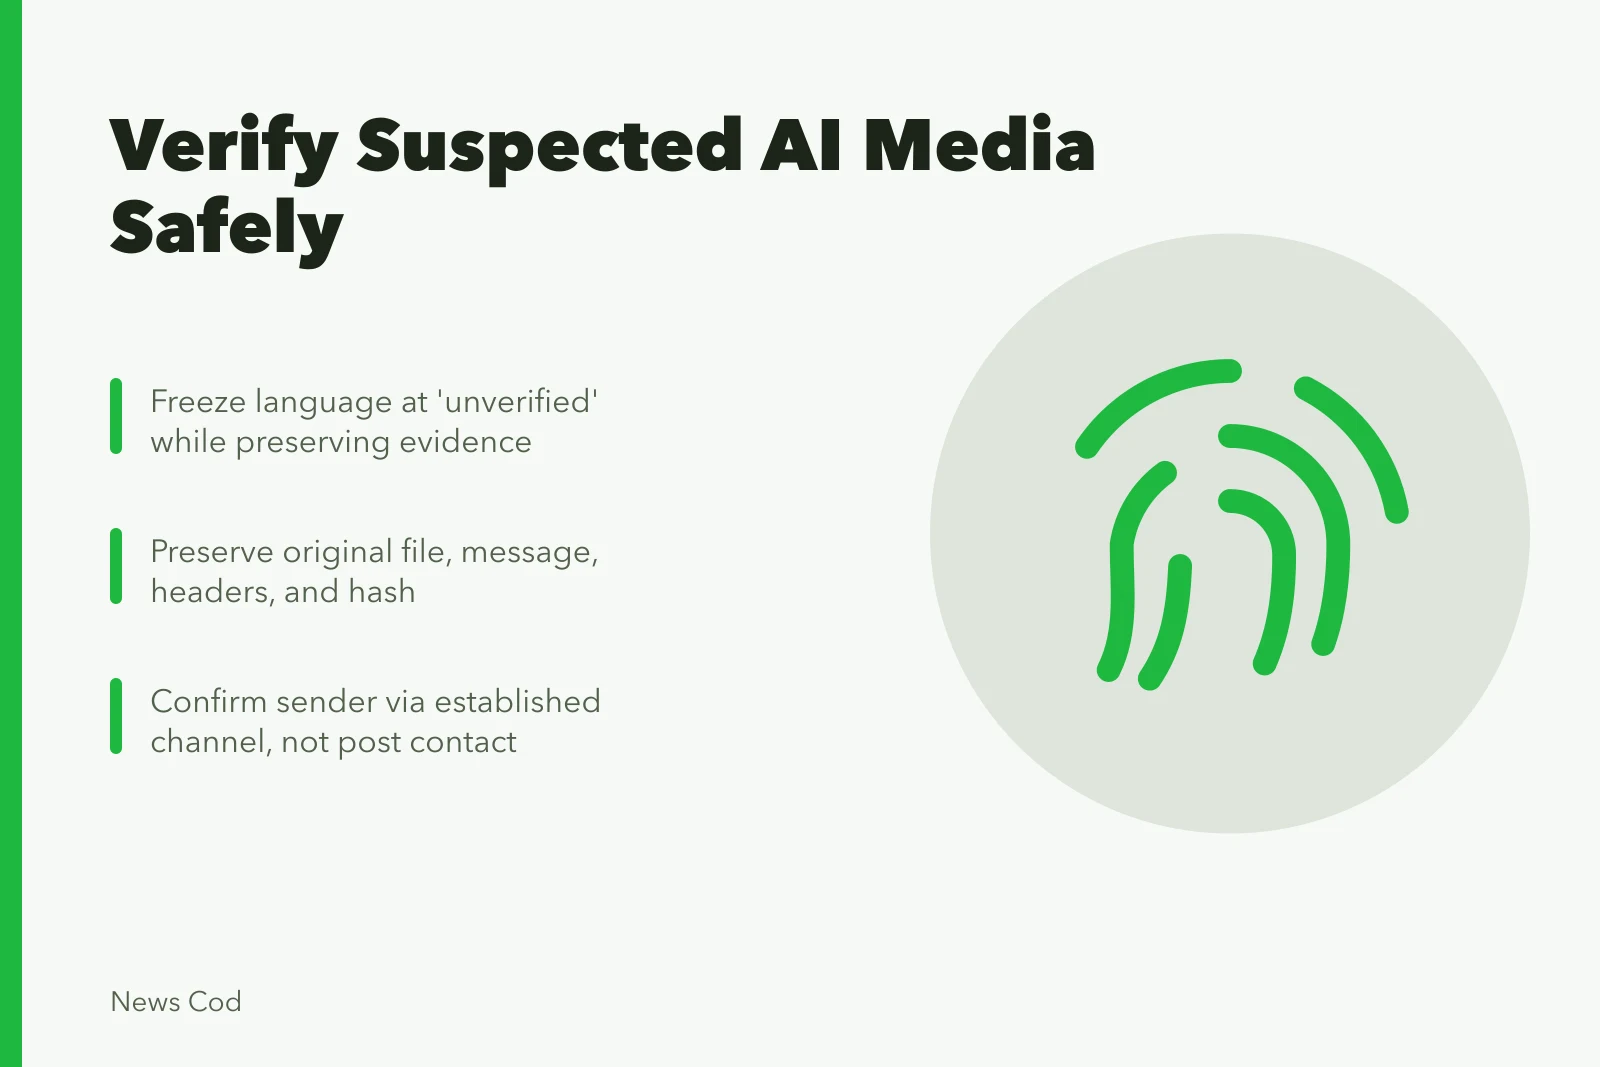
- Publish the status "unverified" while you preserve the file and test it.
- Confirm the person through a channel that existed before the incident, never a number in the disputed message.
- Check origin and event before hunting for visual or audio defects; a miscaptioned real clip is the common case.
- Test the original file, not a re-encoded copy, and log every tool and setting.
- Treat any request for money, credentials or sensitive data as a separate channel problem and pause the action.
A convincing clip creates pressure: to publish it, to pay it, to warn people. Speed matters, and a rushed verdict spreads the deception or wrongly dismisses real evidence. The order below works for images, video and audio, with medium-specific tests added near the end.
Step 1: Contain the claim
Write a neutral status line: "We are reviewing an unverified recording said to show X at Y time." Do not repost the full clip to ask whether it is fake. Restrict access if it carries private, violent, sexual or operationally sensitive material.
If a fraud attempt is live, pause the requested action and tell the security lead, payment approver or duty editor. The deadline the caller imposed is part of the claim, not a reason to skip controls.
Step 2: Preserve what arrived
Preserve what arrived
- Save highest-quality file
- Save message or page around it
- Save sender and account identifiers
- Save timestamps with time zones
- Keep headers and transfer details
- Hash each file you keep
Work from a copy. Trimming, audio normalization, captions and format conversion can strip metadata and add artifacts of their own.
Step 3: Confirm the contact independently
If the media appears to come from a known person, reach them through a number, address, thread or directory entry that existed before the incident. The callback number in the disputed message is not a contact route.
Confirm the contact independently
- Use pre-existing number, address, thread
- Do not use callback number in message
- AskDid you send this?
- AskWhat device or service?
- AskWhere were you standing?
- AskCan you send the original file?
Ask open questions: Did you send this? What device or service? Where were you standing? Can you send the original file? Do not open by feeding the source details they can repeat back.
The FBI's alert on voice impersonation of senior US officials tells recipients to confirm new contact information through a previously verified platform. That holds well beyond government targets.
A joint NSA, FBI and CISA information sheet on deepfake threats describes the same weakness from the other side: the message itself is the way in. Impersonation of leaders and finance officers reaches networks and sensitive data, so confirmation has to arrive by a second route.
Step 4: Trace the first public copy
Search distinctive transcript phrases, captions, watermarks and key frames. Compare upload times in one time zone. Look for a higher-resolution version, a longer cut, or a post that predates the claimed event. Save the repost chain and note where captions changed.
Trace the first public copy
- Search distinctive transcript phrases
- Search captions and watermarks
- Search key frames
- Compare upload times in one time zone
- Look for higher-resolution or longer cut
- Save repost chain and caption changes
For video, pull frames at scene changes and search several of them, not the thumbnail. For audio, search the transcript and any odd phrase. For an image, search the central subject and the background as separate crops.
Step 5: Test the real-world account
| Claim element | Independent check |
|---|---|
| Person | Schedule, confirmed whereabouts, known clothing or appearance |
| Place | Signs, terrain, room layout, landmarks, acoustics |
| Time | Weather, shadows, clocks, public events, upload chronology |
| Action or words | Full speech, official record, witness material, parallel recordings |
A contradiction here can settle the caption while leaving the file's production method open. When the evidence proves only the caption wrong, say that: "the clip is miscaptioned." Do not imply the footage is fabricated, and do not imply it is genuine.
Test the real-world account
Claim element
- Person
- Schedule, confirmed whereabouts, known clothing
- Place
- Signs, terrain, room layout, landmarks, acoustics
- Time
- Weather, shadows, clocks, public events
- Action or words
- Full speech, official record, witness material
Independent check
- Person
- Place
- Time
- Action or words
Step 6: Inspect provenance and metadata
Record file type, dimensions, duration, and codecs. Record timestamps, device fields, and edit-software fields. Record any signed provenance. Compare them against what the source told you. A timestamp can be wrong because of device settings, export or time-zone handling. Metadata supports a finding; it does not witness the event.
If Content Credentials are attached, validate them in a compatible tool and read the signer, the recorded actions and the validation result. A valid signature shows who signed, not that the scene happened.
Step 7: Perform medium-specific checks
Image
- Inspect geometry, text, reflections, shadows, repeated textures and edge transitions.
- Compare any embedded preview against the full image.
- Check whether an alleged defect survives at native resolution, rather than only in a compressed preview.
Video
- Go frame by frame around face boundaries, occlusions, fast movement and cuts.
- Compare mouth motion against speech timing, room sound and reverberation.
- Look for edits that change meaning even when every frame began as real footage.
Audio
- Listen for discontinuities, room-tone changes, clipped breaths, cadence shifts and mismatched background sound.
- Compare with verified recordings from a similar date and setting.
- Separate voice identity from message authenticity. A real voice can come from an old or spliced recording.
Step 8: Run technical tools carefully
Upload only material you are permitted to upload. Log the file hash, tool name, version, date, settings and raw output. A service that returns a label with no method or validation information earns little weight.
Run the same test on an authentic control that passed through a similar platform. If a detector flips its answer after a crop or a transcode, write that down. Never average scores from systems you cannot inspect.
Step 9: Seek independent review
For a consequential finding, ask a second reviewer to repeat the work from the preserved file and the claim card. Share the evidence, not your preferred verdict. Bring in a qualified media-forensics specialist when the answer turns on signal analysis beyond the newsroom's competence.
Step 10: Publish the narrowest supported result
State which of these you actually verified: identity, event, origin, alteration or generation. They are not interchangeable. Include the evidence cutoff, the source's response, whether the original arrived, and what your tools could not settle. If the risk is immediate, publish protective guidance first and update the technical finding as it firms up.
Common questions
Should I ask social media whether a clip looks fake?
No. It amplifies the material and collects guesses you cannot check. Route it to assigned reviewers through a controlled channel.
Is a familiar voice enough to confirm the speaker?
No. Confirm through a route you already trusted and check the surrounding event. Cloned audio of a real person is the harder case, not the easier one.
Should I clean noisy audio before testing it?
Preserve and test the original first. Label and document any processed copy, and keep it out of the finding unless the processing is part of what you are testing.
What if the tools disagree?
Report the disagreement and lean on the whole evidence set. An inconclusive result is more accurate than a forced answer, and it tells the reader where the uncertainty sits.